Source: engadget.com
Apple’s iPhone is celebrated for its camera prowess, but its built‑in Voice Memos app is an equally powerful tool for capturing high‑quality audio. Whether you need to record an interview, a lecture, a meeting, or a quick voice note, the app offers a suite of features that go far beyond a simple red button. This guide walks you through every aspect of Voice Memos, from launching the app to fine‑tuning playback settings, ensuring you get the most out of your iPhone’s audio capabilities without downloading any third‑party software.
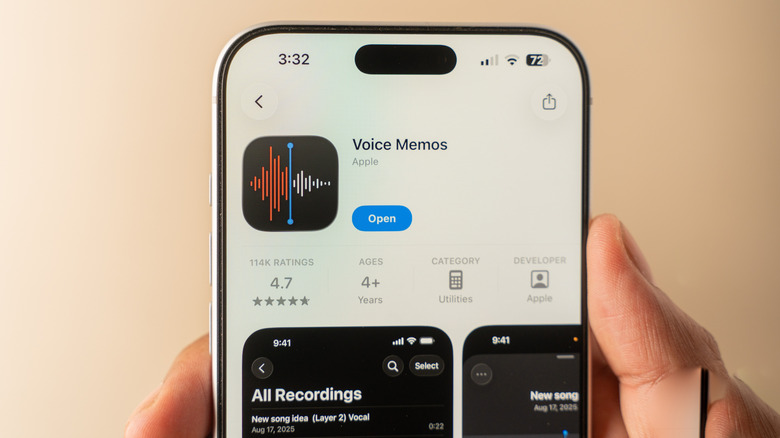
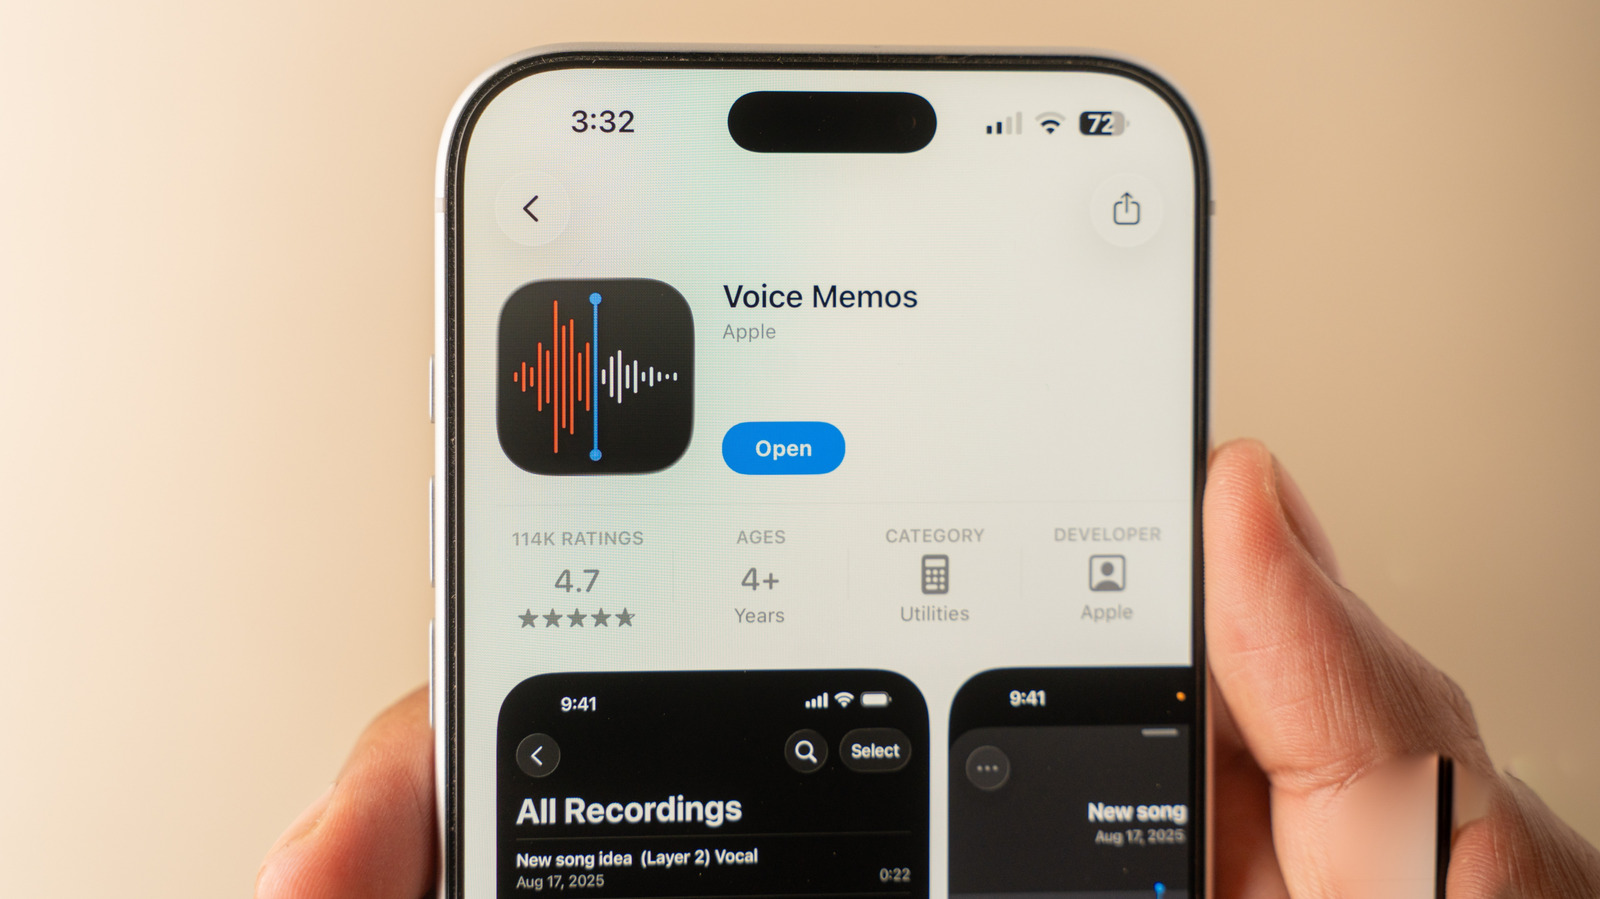
The Voice Memos app comes pre‑installed on all modern iPhones running iOS. Its icon is a simple black waveform on a white background. If you cannot locate it on your Home Screen, swipe down to activate Spotlight Search and type “Voice Memos.” Should you have previously removed the app, you can reinstall it for free from the App Store.
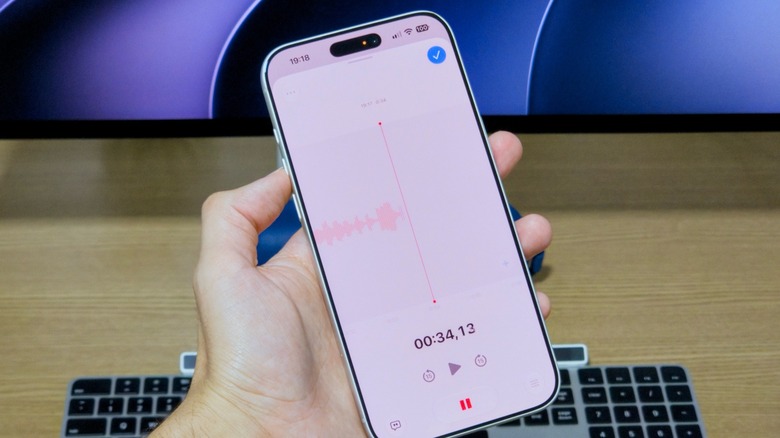
Upon opening the app, you are greeted with a clean interface dominated by a large red circle at the bottom. Tap this circle to begin recording; tap it again to stop and automatically save the memo. The recording is stored locally and, if iCloud sync is enabled, will appear across your other Apple devices.
While a recording is in progress, swiping upward on the recording card expands the view to a full‑screen interface. This reveals additional controls: a pause button, a rewind slider, and a resume option. The rewind function is especially useful for correcting mistakes—by dragging the slider back a few seconds, you can overwrite the erroneous segment with new audio, effectively performing an on‑the‑fly edit.
For users with an iPhone 16 Pro or newer, the app also supports multitrack recording. Tap the Plus (+) button during a session to add a second audio track, enabling layered recordings such as voiceovers over ambient sound.
Before you start a lengthy recording session, it’s worth configuring the audio format to suit your needs. Navigate to Settings → Apps → Voice Memos and locate the Recording Mode option. Here you can choose between Mono, Stereo, and Spatial (available on supported models). Spatial audio creates a three‑dimensional soundscape, making it seem as though the sound originates from all around you—ideal for immersive recordings.
Returning to the recording screen, four small buttons appear in each corner of the display. The top‑left three‑dot icon opens a menu where you can select Copy Transcript, allowing you to paste the spoken text into Notes, Messages, or any other app. The bottom‑left speech‑bubble button displays the full transcript in real time; tapping any word jumps the playback to that exact moment.
The bottom‑right button, illustrated by three sliders, controls playback speed—perfect for quickly reviewing long lectures or slowing down dictation for detailed transcription. For mono or stereo recordings, you’ll find a Skip Silence toggle that automatically removes quiet gaps, and an Enhance Recording option that reduces background noise and echo.
When Spatial audio is selected, the interface swaps Enhance Recording for a Studio Sound slider. Adjusting this intensity simulates a professional studio environment, giving your voice a polished, resonant quality.
After applying your desired settings, tap the blue button at the bottom center to confirm, then tap it again to save the recording. If Location Services is enabled, the memo will be automatically named after your current location; you can edit this name by tapping the title.
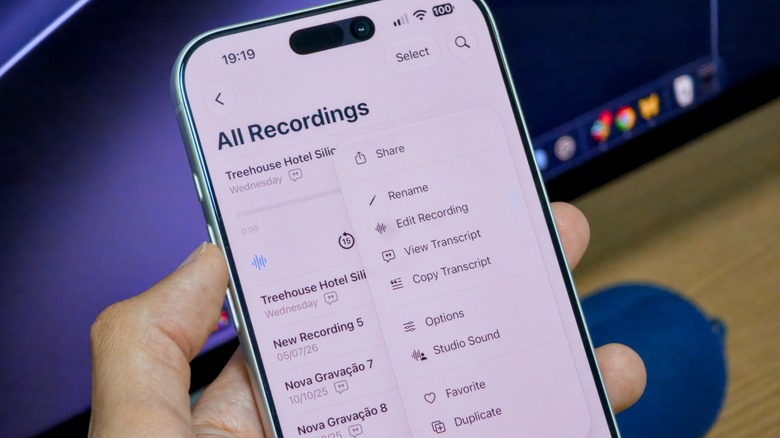
The app’s library view organizes memos chronologically, with the most recent at the top. Tapping any entry plays it back, while the three‑dot menu offers options to share, rename, add to Favorites, or view the transcript. A search bar at the top lets you locate memos not only by title but also by searching within their transcripts—a huge time‑saver when you have dozens of recordings.
For better organization, use the arrow in the top‑left corner to browse by category or create custom folders. This is particularly useful for separating project interviews from personal voice notes.
Finally, ensure your memos stay in sync across devices by enabling iCloud. Go to Settings → [Your Name] → iCloud → Saved to iCloud and verify that Voice Memos is toggled on. Once activated, any memo you create, edit, or delete will propagate instantly to your iPad, Mac, or another iPhone signed into the same Apple ID.
Online Assistant